How To Polish Concrete
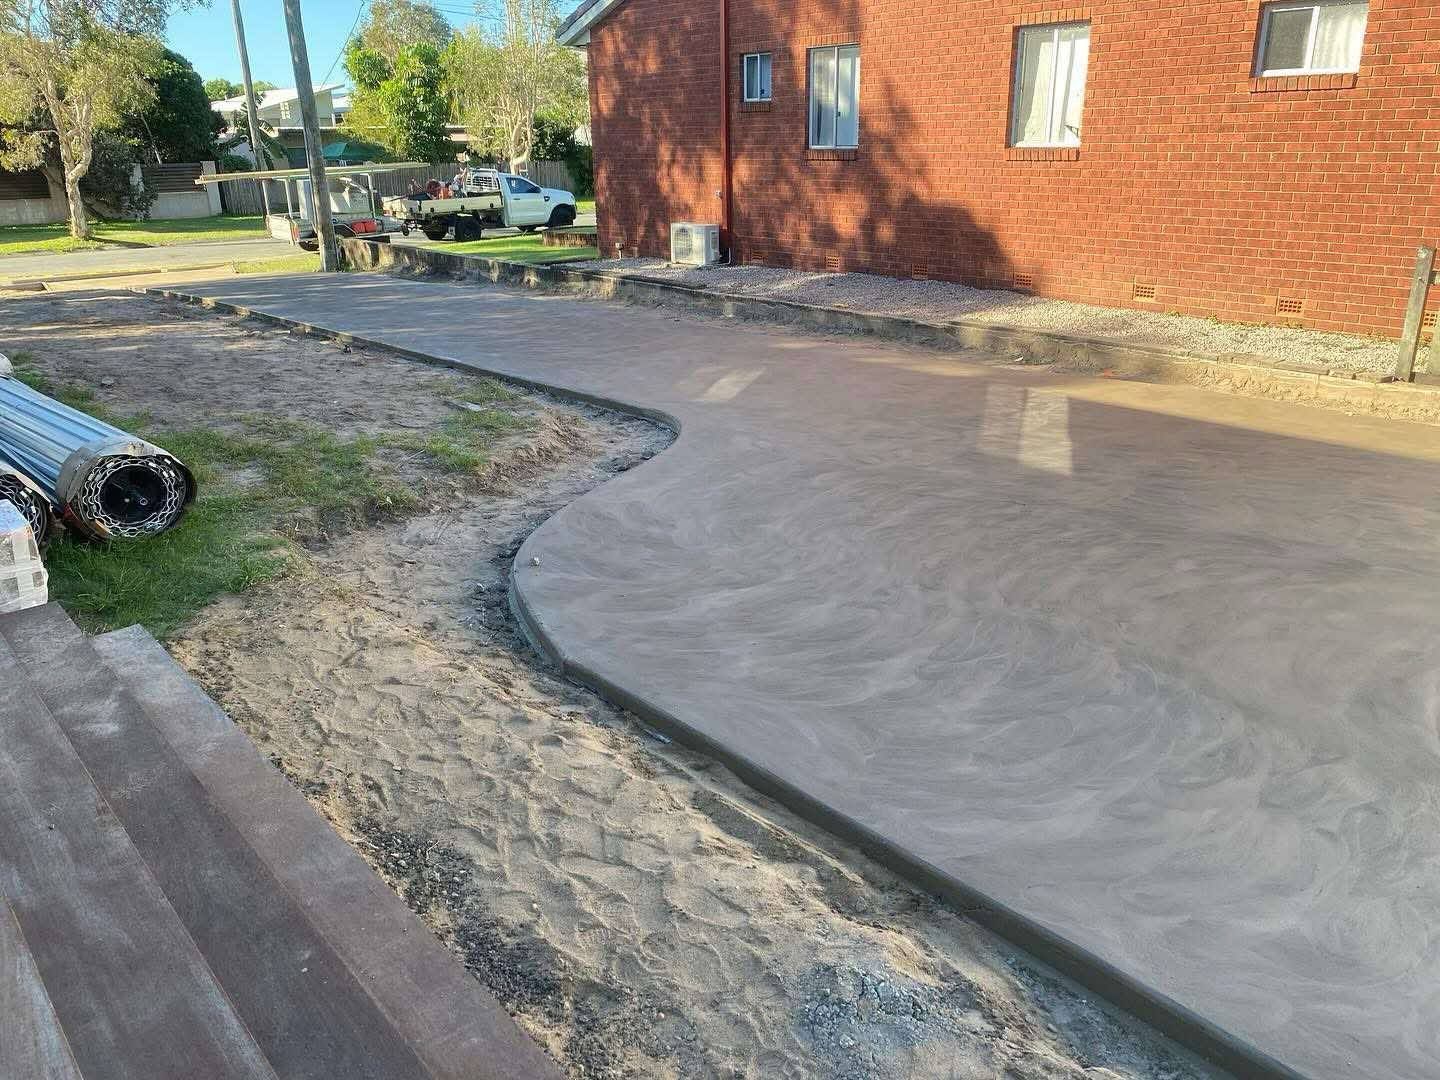
Polished concrete is a popular flooring option for homes, commercial spaces and industrial areas due to its durability, low maintenance and sleek, modern appearance. Whether you’re renovating an old slab, building a pool surround or installing a driveway, polishing concrete is a cost-effective way to enhance its look and functionality.
In this guide, we’ll walk you through the step-by-step process of polishing concrete, including preparation, equipment, techniques and finishing touches.
What Is Polished Concrete?
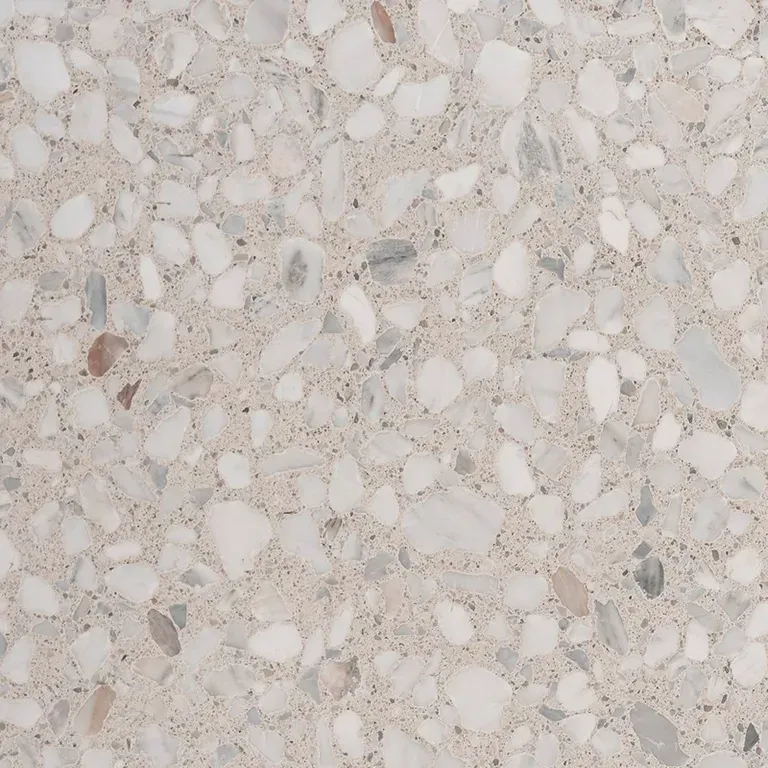
Polished concrete is created by mechanically grinding and honing a concrete surface using specialised machines fitted with diamond abrasives. The process removes imperfections, smooths the surface and enhances its natural beauty by exposing aggregates and adding a high-gloss or satin finish. Polishing can be customised to achieve various levels of sheen, from matte to mirror-like.
Benefits of Polishing Concrete
Before diving into the “how,” let’s quickly highlight why you might choose polished concrete:
- Durability: Resistant to heavy traffic and wear.
- Low Maintenance: Easy to clean and requires no waxing or sealing.
- Aesthetic Appeal: Sleek, modern finish that can mimic granite or marble.
- Sustainability: Uses existing concrete, reducing waste and material use.
- Cost-Effective: Long-lasting with low ongoing maintenance costs.
Equipment You’ll Need For Polishing Concrete
To polish concrete, you’ll need access to the following tools and materials:
- Concrete grinder with diamond abrasives (coarse to fine grit)
- Industrial vacuum or dust extractor
- Edge grinder or hand-held polisher
- Densifier (to harden and seal the surface)
- Stain or dye (optional, for coloured finishes)
- Burnishing pads (for high-gloss finish)
- Safety gear (gloves, goggles, mask, ear protection)
Note: For large or complex areas, it’s often more efficient and safer to hire a professional concreting team like J Willow Concrete on the Sunshine Coast.
Step 1: Surface Preparation For Polished Concrete
The first and most critical step is to prepare the surface.
1.1 Inspect and Repair
Check the concrete for any damage, cracks, or weak spots. Fill holes and repair cracks using a suitable patching compound and allow it to cure completely before continuing.
1.2 Clean Thoroughly
Remove any coatings, adhesives, paint, or sealers that could interfere with grinding. Sweep and vacuum the floor to eliminate dust and debris.
1.3 Level the Surface
Use a coarse diamond grind (typically 30 to 40 grit) to even out the surface and remove imperfections, such as surface laitance or minor high spots.
Step 2: Grinding the Concrete
2.1 Start with a Coarse Grit
Attach coarse-grit diamond segments to your grinder. Move the machine in a consistent, overlapping pattern to ensure even grinding. Use an industrial vacuum to collect dust as you go.
2.2 Progress Through Finer Grits
After the initial grind, move to medium (80 grit) and then finer grits (150-200 grit) depending on the level of polish desired. Each pass should remove scratches from the previous grit.
2.3 Edge Work
Use a smaller hand-held polisher or edge grinder to work along walls, corners, and tight spaces. This step ensures a uniform finish across the entire surface.
Step 3: Apply Concrete Densifier
Once you’ve completed the mid-level grinding stage, apply a lithium or sodium silicate densifier. This chemical solution penetrates the concrete, filling pores and reacting with calcium hydroxide to create a harder, dust-proof surface.
- How to apply: Use a sprayer or mop to evenly apply the densifier. Allow it to soak in and dry completely (usually 24 hours).
This step strengthens the concrete and prepares it for the final polishing stages.
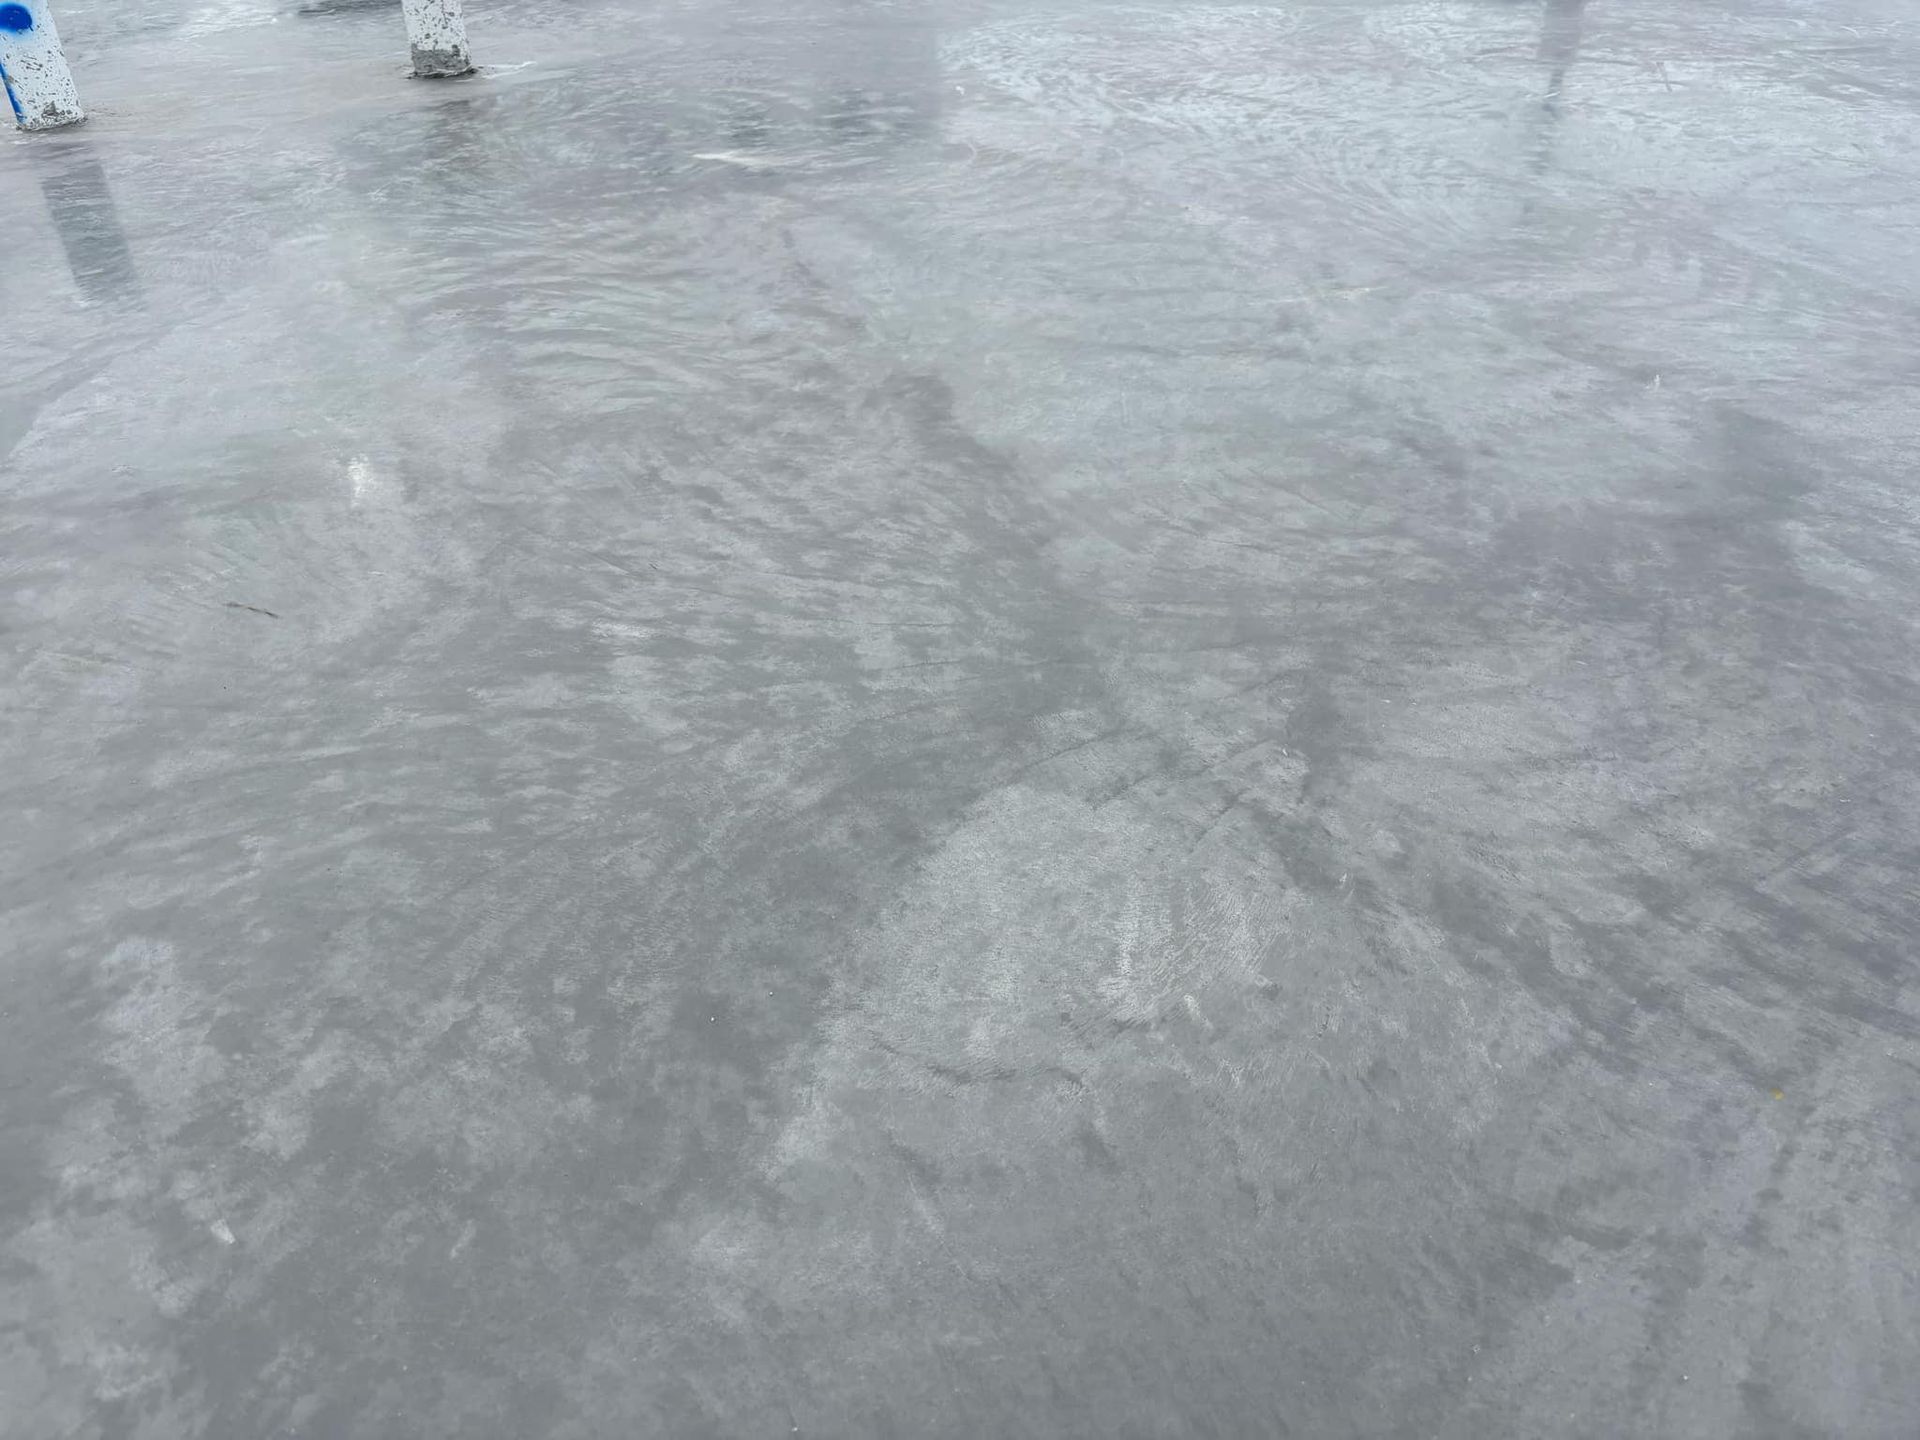
Step 4: Polishing the Surface
After the densifier has cured, it’s time to begin polishing.
4.1 High Grit Passes
Attach high-grit pads to your grinder (400, 800, 1500, and 3000 grit depending on your desired finish). The higher the grit, the shinier and more reflective the finish will be.
- Satin finish: Stop around 400–800 grit.
- Glossy finish: Continue up to 1500–3000 grit.
4.2 Optional: Add Colour
If you want a coloured finish, now is the time to apply a concrete dye. Apply with a sprayer and allow it to fully dry before continuing with polishing.
Step 5: Burnishing & Sealing Polished Concrete
To complete the process:
5.1 Burnishing (Optional)
For a glass-like shine, use a high-speed burnisher with a burnishing pad. This step polishes the surface even further and enhances the reflection.
5.2 Seal or Leave Natural?
Polished concrete doesn’t require sealing, but many installers apply a stain guard or penetrating sealer to protect the finish from stains and enhance the shine. Choose a sealer that’s compatible with polished concrete and apply as directed.
Maintenance Tips for Polished Concrete
Once polished, concrete is very low maintenance. To keep it looking its best:
- Clean regularly using a microfiber mop or auto-scrubber.
- Avoid harsh chemicals that could etch or dull the surface.
- Re-burnish or re-polish as needed every few years, depending on foot traffic.
When Should You Hire a Professional For Polishing Concrete?
While it’s possible to polish concrete yourself with rented equipment, there are several reasons to hire a professional:
- Experience: Professionals know how to achieve a consistent finish.
- Time: The process can take several days for large or complex areas.
- Tools: Commercial-grade polishers deliver better results than standard rentals.
- Custom Finishes: Professionals can offer decorative options like scoring, stencilling, or coloured dyes.
Conclusion
If you're on the Sunshine Coast and considering polished concrete for your home, commercial property or warehouse, get in touch with the experts at
J Willow Concrete.
We provide professional, high-quality concrete polishing services tailored to your needs.

Written by Ben from J Willow Concrete
Ben’s been in the concreting industry for more than 15-years and is an industry-leader in decorative concrete on the Sunshine Coast. He started J Willow Concrete to provide premium-quality concreting at an affordable price.